
This is a guide to allow you to quickly install Kali Linux onto a bootable flashdrive.
Step 1.
Go here, download either the 64 bit or 32 bit image depending on your OS. Note: 64 bit will have a filename of amd64, this will work on Intel processors, don’t worry about it.
Step 2.
Download this universal USB installer from pendrivelinux.com.
Step 3.
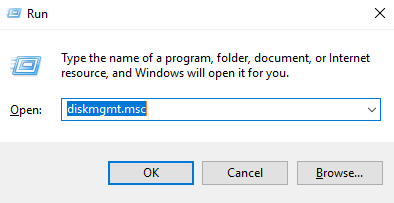
Partition your drive using disk management. To do this, pop open run by pressing win+R, and type diskmgmt.msc.
We partitioned our 120GB flashdrive (you only need 8GB or so though) in the following manner.
First partition is 12 gigs for the bootable kali instance (this is the only one you need). Yes, FAT32 will work best for the bootable section of this drive.
The second partition is for us to store files when we are livebooting.. use FAT32 or exFAT for this partition (since linux doesn’t play well with NTFS).

Step 4.
Run the universal USB installer with the following options. NOTE: Be sure to not check any of the formatting options or it will format the entire volume again, wiping all of your partitions. If you need to format do it first in disk management.

You should be done, plug your flash drive in and boot to it (you usually have to hold f12 or f10 or something similar to get a boot menu when you start your computer.